

TL;DR: The Crestone Traverse links two of Colorado's harder 14ers in one long day: about 13 miles and 6,000 feet of climbing between Crestone Peak and Crestone Needle, with mostly class 3, a few spots of class 4 and a little bit of class 5 terrain connecting the two summits. Guide Trask Rogers and one client started at 2:30 AM due to some unsettled weather and found Crestone Peak socked in clouds but were still able to summit eventually finding blue skys by the final headwall on Crestone Needle. A single rack (cams .3 to #1, a handful of nuts, slings, and a 40m rope) covered the technical sections with most of the route protectable with terrain belays or no rope at all. Car to car in just under 13 hours.
The Approach
Having spent a lot of my time climbing and skiing in the North Cascades I'm familiar with some questionable weather. When we had clouds and drizzle it felt familiar. Colorado is different though with lightning on an exposed summit being far from ideal so we agreed to meet early and proceed with caution.
I met my client for the day at the South Colony Lakes two wheel drive trailhead a little after 230am just outside Westcliffe in the Sangre De Cristo Mountains and loaded up in my high clearance truck for a bumpy ride up to the 4wd trailhead. High clearance is pretty mandatory for this road, as big boulders and deep divots could easily high center something closer to the ground. It seems like some of the other guides had made it in Subarus but I luckily didn't have to worry. The drive takes about 25 minutes. After making it past the first crux of the day, we found ourselves starting to walk around 330am. The client had previously done a lot of trail running and scrambles over the years and had completed over 30 of the Colorado 14ers but this would be one of their first times using ropes and gear for a summit
While I wasn't onsighting the route I had not done it the dozens of times as some of the other guides so I still carry a pretty substantial rack in case something happens and we need to get out of there. I had a single set of cams from .3-1 a few nuts as well as a small assortment of alpine draws and anchor building material. Terrain belays are common on the route without needing a lot of gear and a short 40M rope is plenty for the harder pitched sections where a belay is used.
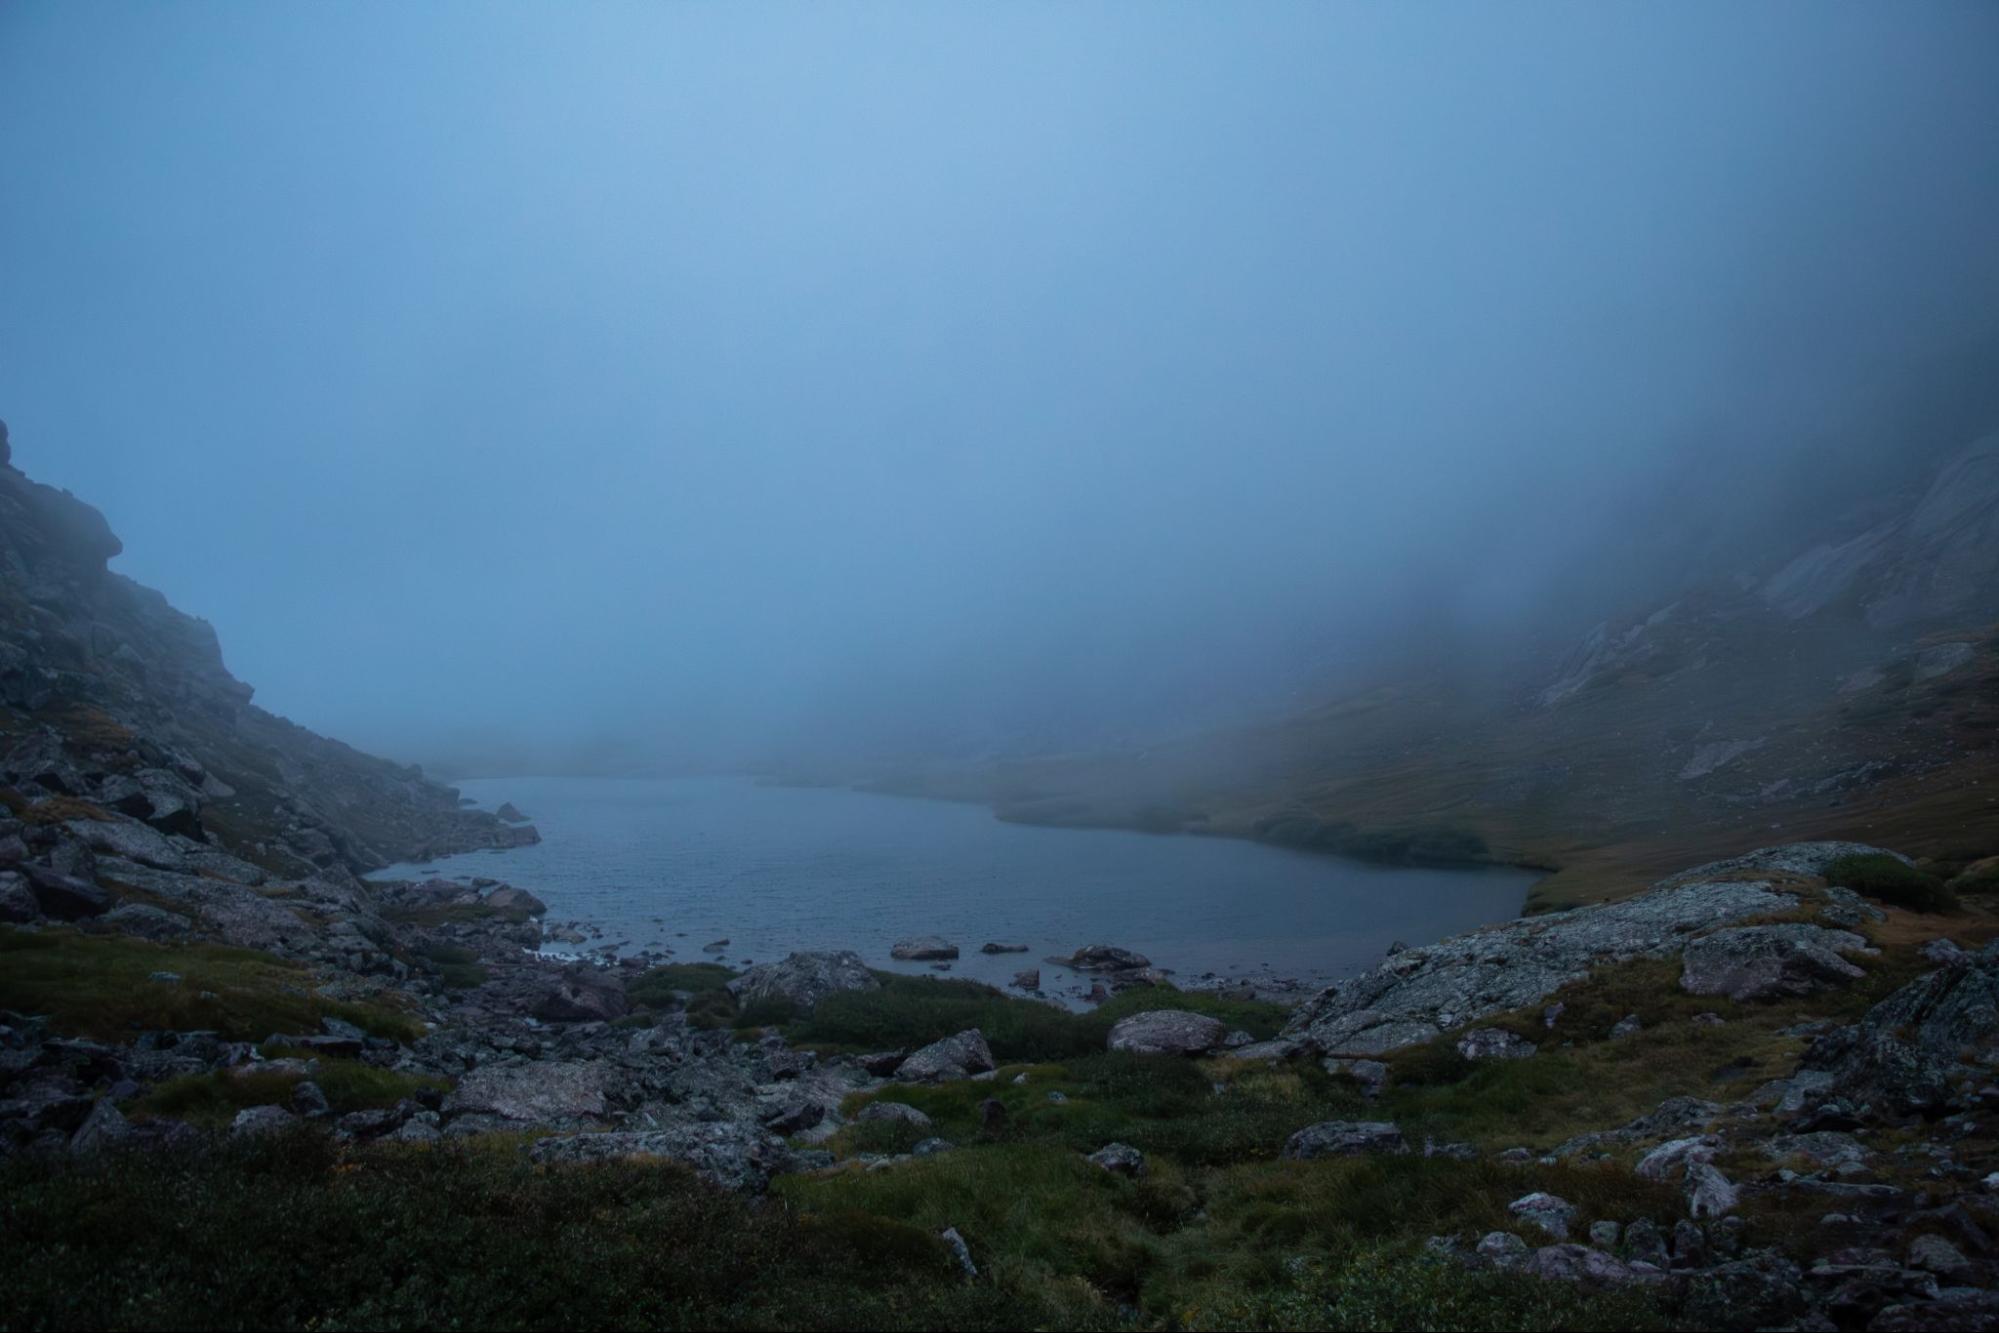
Cloudy weather near Cottonwood Lake
Crestone Peak in the Clouds
The weather for the day started out with some drizzle, with a forecast predicting it to clear up around 9am. This was the reverse of what we had experienced most of August, with clear mornings and afternoon thunderstorms. As we made our way up and over Broken Hand Pass, sunrise revealed the top of the mountains covered in clouds. Morning westerly winds were whipping over the Pass, so we took a nice break sheltered below, that way we could reach the crest and move down quickly so we wouldn't be getting hit by the wind for very long.
The great thing about this route is there are plenty of places to fill up water during the approach, so you don't need to carry the weight of an entire day's worth of water, just a filter. Stopping at Cottonwood Lake, we topped off on water and started up the 3rd class gully to Crestone Peak. The gully had plenty of water running through it from rains throughout the night, making it a little more slippery than normal. Visibility was limited, giving off the feeling we were in the Pacific Northwest instead of Colorado. Despite all this, we were still making great time. We topped out on Crestone peak with clouds all around us. Despite the lack of views, the familiar feeling of being in the clouds was still satisfying. Luckily, temps felt great, wind was low, and precipitation had stopped.
The Traverse to Crestone Needle
Despite being stuck in the clouds still, there was enough visibility, along with a very low CAPE(Convective Available Potential Energy) index i.e lower chance of lightning so we continued through the mist along the Crestone Traverse to Crestone Needle. The biggest concern was weather, but everything was pointing towards the terrain being manageable with the conditions we were in. Despite rain over night there weren't freezing temps and the rock was becoming drier as we moved along. Bits of sun started poking through every now and then as we got closer to Crestone Needle. Most of the route is easy scrambling until about the time you reach the boulder problem around the Black Gendarme. Now the ropes are worth their weight, we did some terrain belays through the steeper sections. Reaching the final headwall, we found dry rock, with the clouds parting to blue skies as we made the summit of Crestone Needle. Looking back, we could finally see the entire traverse that we had just covered.
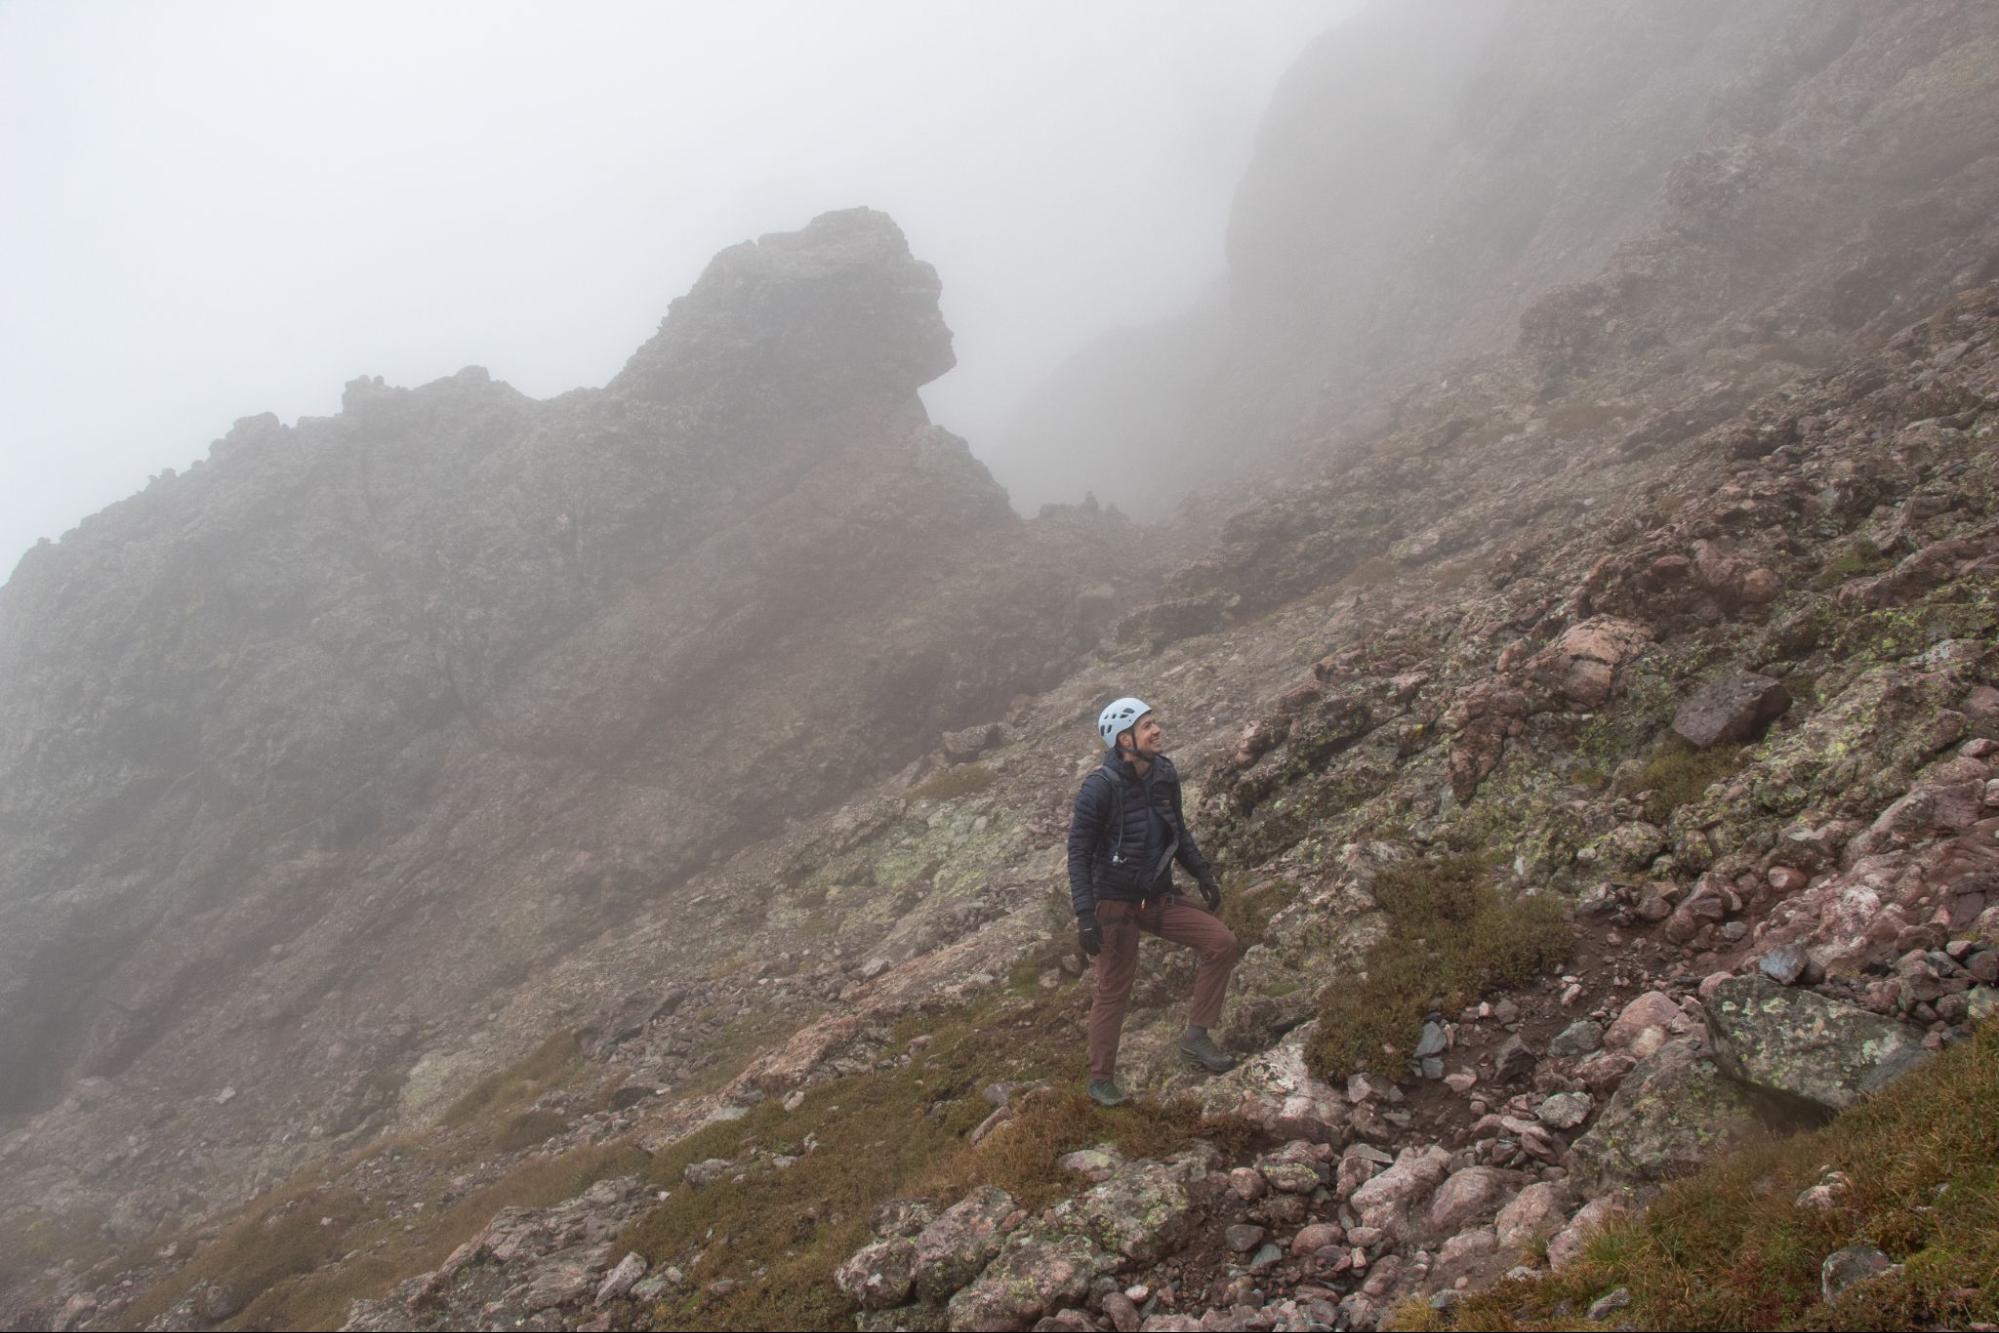
Still in the clouds near the beginning of the Crestone Traverse
The Descent
We started the descent and enjoyed sunny weather back to the trailhead. We had a welcome party of sheep to meet us at Broken Hand Pass. Owing to the weather we had been alone the entire day including the summits. Making it down to South Colony Lake, we finally ran into the first group of people we had seen all day. Getting to experience this great traverse, all while having the whole thing to ourselves, really made the day something to remember, and was one of my favorite 14er summits I've done. Climbing above the clouds on the final headwall just added to the exposure and the feeling of being "up there".
The last few miles are the hardest, as what flew by under headlamps during the excitement of the start of the day starts to drag on, with the trailhead slowly getting closer. We ended up back at the cars after 4pm, a little under 13 hours since we started. 13 miles later with 6,000' of elevation gain under our belt, we could finally "relax" a little before another round with the 4wd road.

Sheep hanging out along descent from Crestone Traverse
Conclusion
The Crestone Traverse requires solid weather assessment rather than pure climbing ability. There is a significant amount of hiking and the technical terrain is short and manageable. Much of it goes without protection and weather is the more important variable. Starting in the dark and recognizing how terrain affects the weather, low CAPE with light cloud cover, hiding on the correct side of Broken Hand to escape the wind and knowing the weather was likely to clear was more important than anything on the rack.
For a strong hiker with a scrambling background and no rope experience the traverse is a reasonable step up. It's not the place to learn rope work for the first time without someone who knows the terrain and the bail options if the weather gets worse.
If you're weighing the Crestone Traverse and want an honest read on timing, conditions, or whether your fitness and experience line up with the route, reach out. That's what we're here for.
Is it better to do the Crestone Traverse in one, two, or three days?
Crestone Traverse is around 13 miles with 6,000’ of elevation gain. It is a very big day in the mountains, and it can be very satisfying to cover that much ground in a single day. However, that means the weather needs to line up, and having a high degree of physical fitness is a must or you'll end up with disappointment. In two or three days, the pace is a lot more relaxed making it more attainable for the average climber. South Colony Lake is also one of the best campsites in Colorado and an enjoyable place to spend some time. I would also say it's nice to not have to wake up so early since you're close to the start of the mountain instead of all the way at the trailhead.
Is it better to do the Crestone Traverse from Peak to Needle or Needle to Peak?
I personally prefer Peak to Needle. When you go this way the climbing ramps up in difficulty and you are climbing up the most iconic and challenging parts that I find the most fun. Doing this in reverse often involves rappelling/lowering, and missing out on the best parts of the climbing. It doesn't really seem any easier to go in reverse but as a strong climber I might be biased.
What footwear works best on the Crestone Traverse?
Approach shoes are the ideal choice for the traverse and as a guide we don't like to carry a lot of shoes unless they're going to be really necessary or helpful. The sticky rubber and different tread makes the rocky parts much more comfortable and solid feeling than trail runners. Boots or trail runners could be used for the approach, although then you are carrying more than one pair of shoes which is added weight. The climbing shoes can be left at home, as the climbing is never sustained or hard enough to really justify them like they might be on Ellingwood Arete.
Related posts
Keep reading with connected field notes, trip reports, and climbing tips from the guide team.

Client Tackles First 14er via Hardest Route on Long's Peak
A trip report about a guided climb of the Casual Route on The Diamond of Long's Peak in Rocky Mountain National Park

How to Get Started with 14er Climbing in Winter
Learn how to climb Colorado 14ers in winter with expert tips on gear, avalanche safety, winter mountaineering skills, and the best beginner peaks.

How to Climb Long's Peak
A first hand guide to climbing Long's Peak in Rocky Mountain National Park. Fitness, gear, routes (Keyhole, Cables, The Diamond), and when to turn back, from working mountain guides.


